
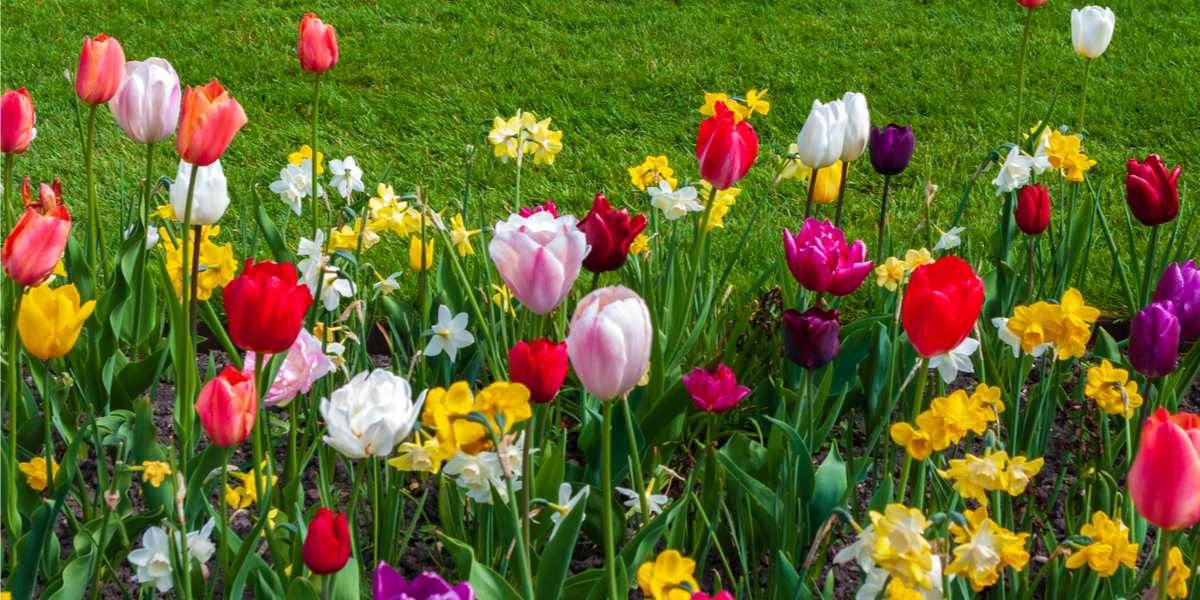
Create A Stunning Spring Display By Planting Bulbs In Fall – Imagine stepping outside in the early spring and being greeted by a vibrant explosion of color. A tapestry of tulips, daffodils, and hyacinths, bursting forth from the earth, transforming your garden into a breathtaking masterpiece.
This is the magic of fall bulb planting. By planting bulbs in the autumn, you can create a spring spectacle that will leave you and your neighbors in awe.
Fall planting allows bulbs to establish their roots before winter sets in, giving them a head start in the spring. The cooler temperatures of autumn are ideal for bulb growth, encouraging strong root development and vibrant blooms. In contrast, spring planting often results in smaller blooms and less vigorous growth.
This guide will provide you with all the knowledge you need to create a stunning spring display with fall-planted bulbs.
The Benefits of Fall Bulb Planting
Planting bulbs in the fall offers a significant advantage for gardeners seeking a vibrant spring display. By planting bulbs during this season, you allow them to establish a strong root system before winter arrives, setting the stage for robust growth and bountiful blooms come spring.
Cooler Temperatures and Bulb Growth
Cooler temperatures during fall are ideal for bulb growth. The soil remains moist, providing optimal conditions for root development. This period of root establishment is crucial, as it ensures the bulbs have a solid foundation to draw upon when they begin to sprout and bloom in the spring.
Choosing the Right Bulbs
Selecting the right bulbs for your spring display is crucial to ensure a vibrant and long-lasting show of color. Consider factors like bloom time, color, height, and regional suitability to create a beautiful and harmonious garden.
Bloom Time
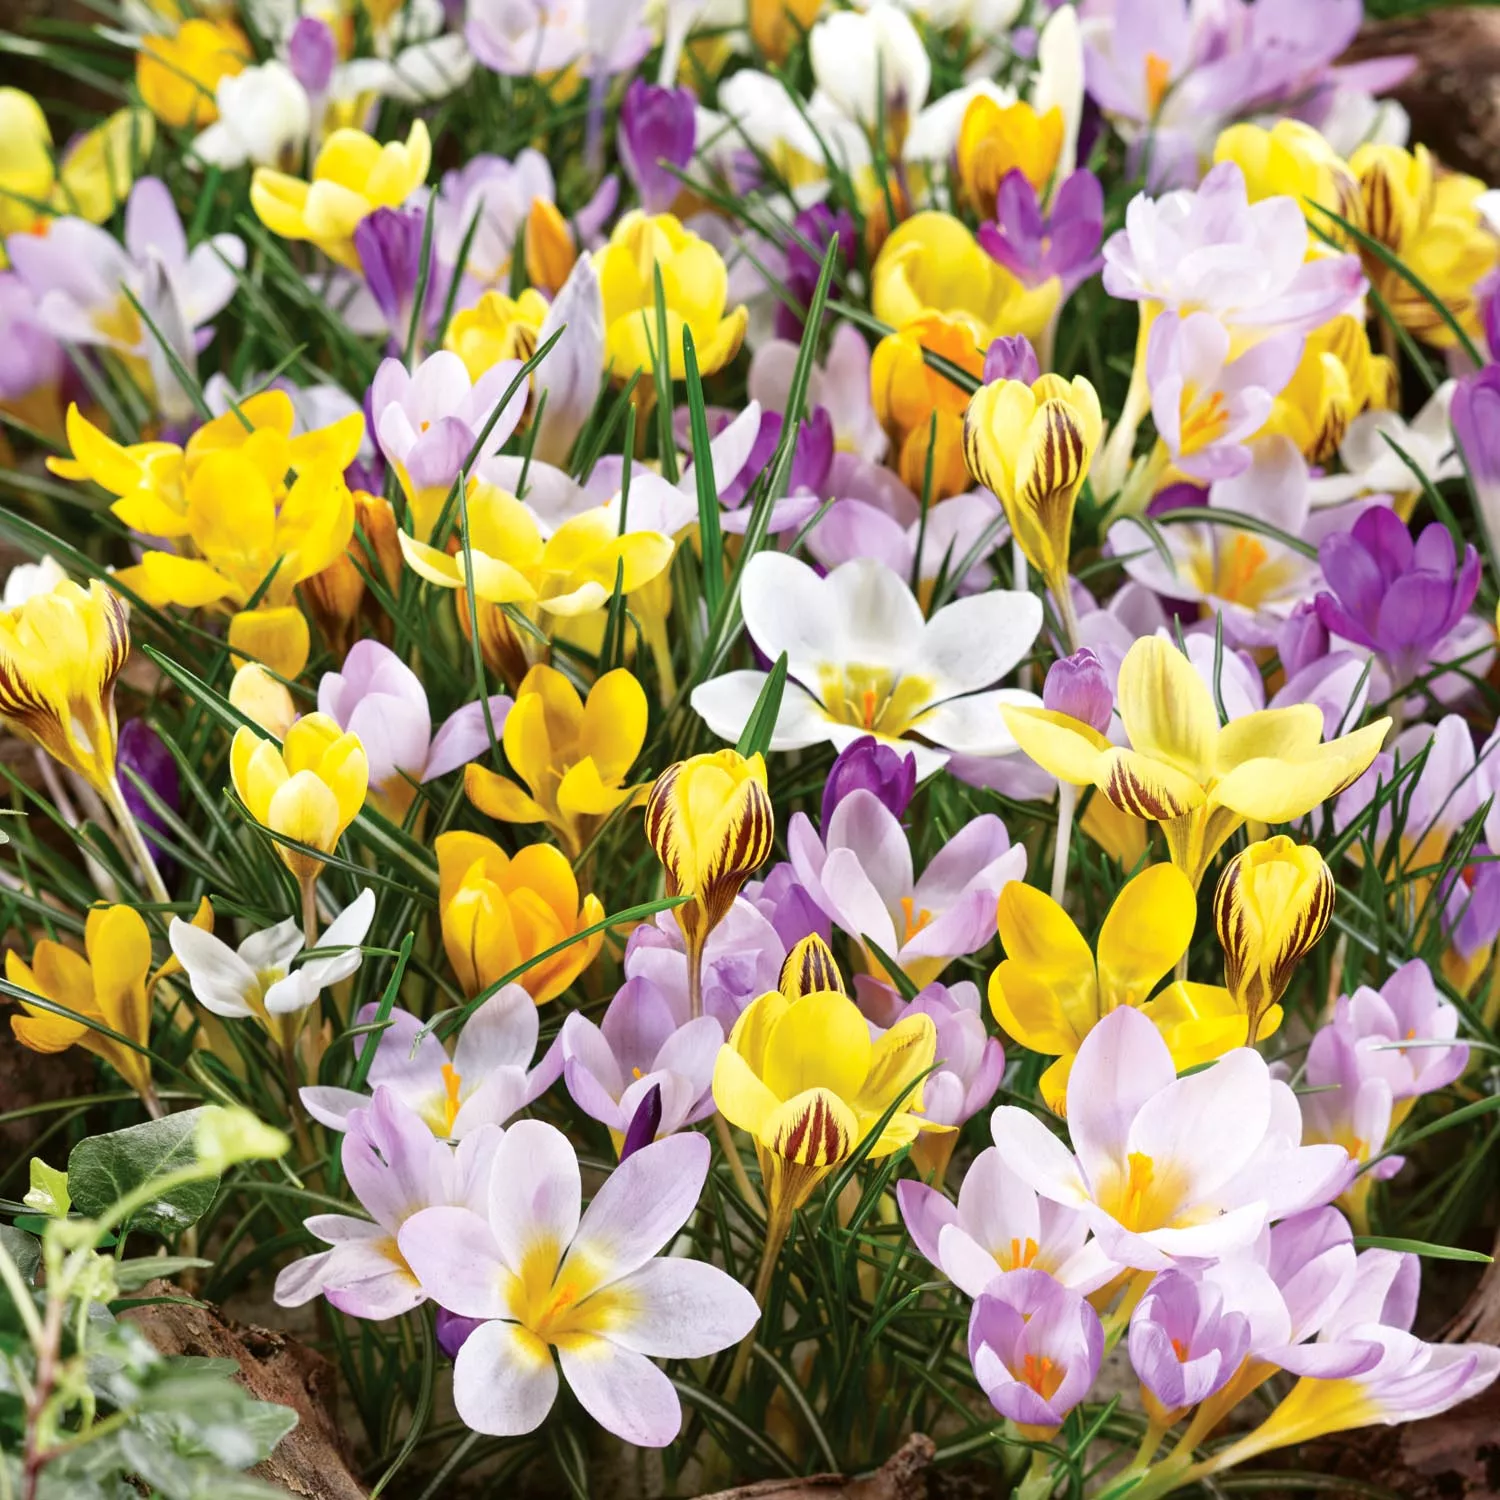
To have a continuous display of flowers throughout the spring, plant bulbs with staggered bloom times. Early bloomers like crocuses and snowdrops emerge in late winter, followed by mid-season varieties such as tulips and daffodils. Late-blooming bulbs, including lilies and alliums, will add color to your garden in late spring.
- Early bloomers(February-March): Snowdrops, crocuses, winter aconite, and grape hyacinths.
- Mid-season bloomers(March-May): Tulips, daffodils, hyacinths, and fritillaria.
- Late bloomers(May-June): Lilies, alliums, and irises.
Color
Bulbs come in a wide range of colors, allowing you to create a stunning and personalized display.
- White:Snowdrops, daffodils, tulips, and lilies.
- Yellow:Daffodils, tulips, and alliums.
- Orange:Tulips, alliums, and lilies.
- Red:Tulips, lilies, and alliums.
- Pink:Tulips, lilies, and hyacinths.
- Purple:Hyacinths, alliums, and irises.
- Blue:Grape hyacinths, alliums, and irises.
Height
Bulb height can significantly impact the overall look of your display.
- Low-growing bulbs(under 12 inches): Crocuses, snowdrops, grape hyacinths, and dwarf tulips.
- Medium-height bulbs(12-24 inches): Daffodils, hyacinths, and some tulips.
- Tall bulbs(over 24 inches): Lilies, alliums, and some tulips.
Regional Suitability
The best bulbs for your region depend on your climate and soil conditions.
- Warm climates:Consider bulbs that thrive in hot, sunny conditions, such as lilies, alliums, and some tulips.
- Cold climates:Opt for bulbs that tolerate cold winters, like snowdrops, crocuses, and daffodils.
- Humid climates:Choose bulbs that are resistant to fungal diseases, such as daffodils, tulips, and alliums.
Sample Bulb Planting Plan
Here’s a sample planting plan for a mixed spring bulb display, combining early, mid, and late-blooming varieties:
- Early bloomers:Plant snowdrops and crocuses in the front of the bed.
- Mid-season bloomers:Plant daffodils and tulips in the middle of the bed, with taller varieties towards the back.
- Late bloomers:Plant lilies and alliums at the back of the bed for a final burst of color.
Bulb Types and Planting Depths
Bulb Type |
Blooming Period |
Colors |
Planting Depth |
|---|---|---|---|
Snowdrops |
February-March |
White |
3 inches |
Crocuses |
February-March |
White, yellow, purple |
3 inches |
Daffodils |
March-May |
Yellow, white, orange |
6-8 inches |
Tulips |
March-May |
Wide variety of colors |
6-8 inches |
Hyacinths |
March-May |
Pink, purple, white, red |
6-8 inches |
Lilies |
May-June |
Wide variety of colors |
8-10 inches |
Alliums |
May-June |
Purple, pink, white |
6-8 inches |
Preparing the Planting Area
Once you’ve chosen your bulbs, it’s time to get your planting area ready. Well-prepared soil is crucial for healthy bulb growth and beautiful blooms in the spring. Here’s how to prepare the soil for your fall bulb planting:
Soil Preparation
Start by clearing the planting area of any weeds, debris, or rocks. This will prevent competition for nutrients and water, ensuring your bulbs have the best chance to thrive.
Adding Compost
Compost is a gardener’s best friend. It improves soil structure, drainage, and nutrient content. Incorporate a generous layer of compost into the soil before planting your bulbs. A 2-4 inch layer is generally sufficient.
- Spread the compost evenly over the planting area.
- Use a garden fork or tiller to mix the compost into the existing soil.
Testing Soil pH, Create A Stunning Spring Display By Planting Bulbs In Fall
Bulbs thrive in slightly acidic to neutral soil with a pH between 6.0 and 7.0. You can purchase a soil pH test kit from most garden centers or online. To test the soil, follow the instructions provided with the kit.
- If the soil pH is too acidic (below 6.0), you can raise it by adding lime.
- If the soil pH is too alkaline (above 7.0), you can lower it by adding sulfur.
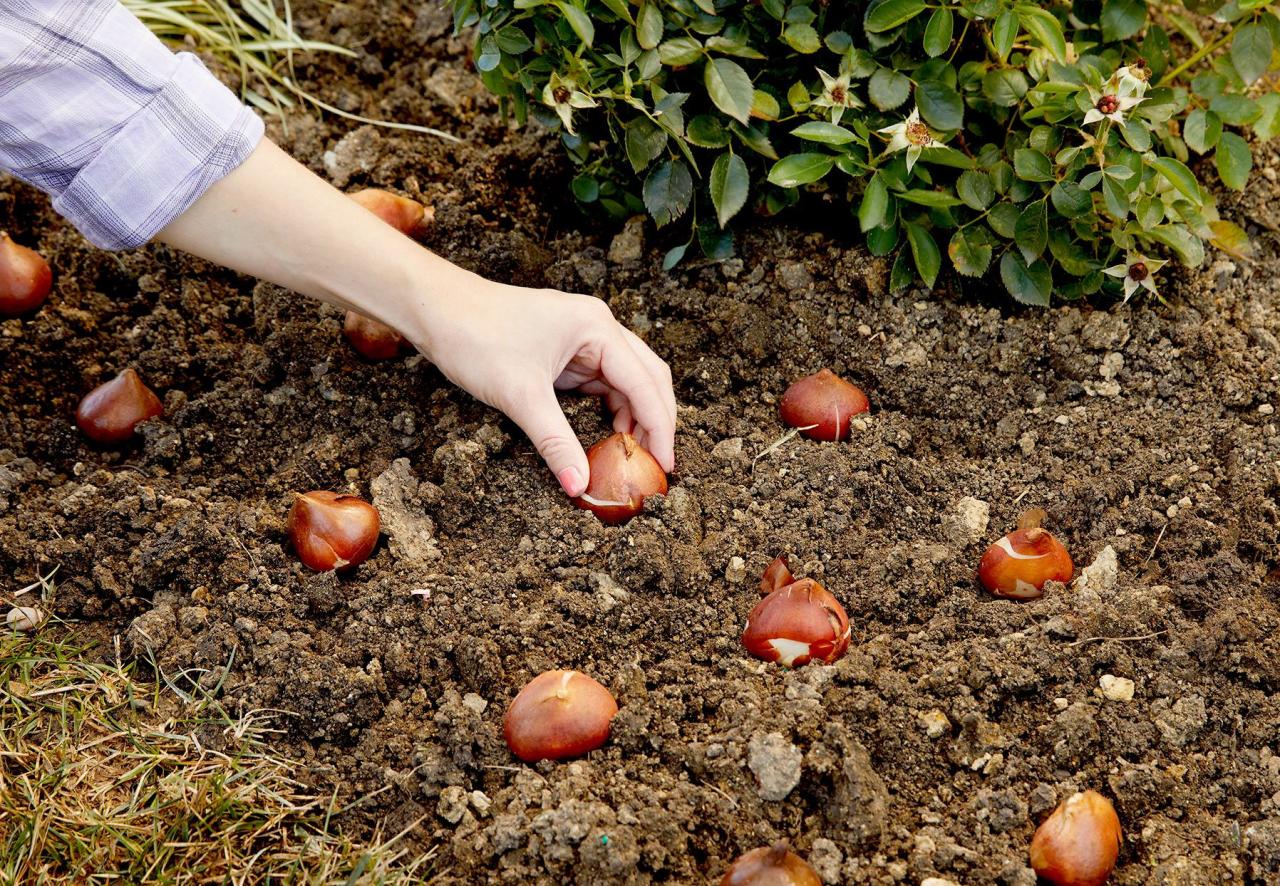
Digging Planting Holes
The depth of the planting hole should be about two to three times the height of the bulb. For example, a bulb that is 2 inches tall should be planted in a hole that is 4 to 6 inches deep.
The spacing between bulbs depends on the type of bulb and the desired effect. Consult the packaging or a bulb planting guide for specific recommendations.
For example, daffodils should be planted 4 to 6 inches apart, while tulips can be spaced 6 to 8 inches apart.
Use a trowel or garden spade to dig the planting holes. The holes should be wide enough to accommodate the bulb comfortably. Place the bulb in the hole with the pointed end facing up.
Creating a stunning spring display starts with planting bulbs in the fall. These resilient plants emerge from the soil just as the first signs of spring appear, providing a burst of vibrant color. To ensure your garden explodes with early spring blooms, consult a guide on The Best Bulbs For Early Spring Blooms You Should Plant In Fall.
With the right selection of bulbs, you’ll have a vibrant, welcoming garden that’s sure to turn heads.
Here’s a visual guide for digging planting holes:
Step |
Description |
|---|---|
1 |
Use a trowel or garden spade to dig a hole that is two to three times the height of the bulb. |
2 |
Place the bulb in the hole with the pointed end facing up. |
3 |
Gently backfill the hole with soil, making sure to cover the bulb completely. |
4 |
Water the area thoroughly. |
Planting the Bulbs: Create A Stunning Spring Display By Planting Bulbs In Fall
Planting bulbs is the exciting final step in creating your spring display. The depth and spacing you choose will directly influence the health and visual appeal of your flowers. Follow these guidelines for success.
Planting Depth
The planting depth for bulbs is crucial for their successful growth and flowering. It ensures that the bulb is positioned at the right depth for root development and emergence of the flower stalk.
- General Rule:Plant bulbs at a depth of two to three times the height of the bulb. For example, a bulb that is 2 inches tall should be planted 4 to 6 inches deep.
- Smaller Bulbs:Smaller bulbs, like crocuses and grape hyacinths, can be planted shallower, about 2 to 3 inches deep.
- Larger Bulbs:Larger bulbs, like tulips and lilies, need a deeper planting, around 6 to 8 inches deep.
Spacing Bulbs
Spacing bulbs correctly is important for allowing them to grow and thrive without overcrowding. Proper spacing also creates a more visually appealing display.
- General Rule:Space bulbs about 2 to 3 times the width of the bulb apart. This allows for adequate air circulation and prevents them from competing for nutrients and water.
- Smaller Bulbs:Smaller bulbs can be spaced closer together, about 3 to 4 inches apart.
- Larger Bulbs:Larger bulbs, like daffodils and tulips, should be spaced further apart, about 6 to 8 inches apart.
Planting Bulbs in Containers or Raised Beds
Planting bulbs in containers or raised beds is a great option for those with limited space or for creating a more controlled environment.
- Containers:Choose a container that is at least 12 inches deep for larger bulbs and 8 inches deep for smaller bulbs. Use a well-draining potting mix and ensure there are drainage holes at the bottom of the container. Follow the same planting depth and spacing guidelines as for planting in the ground.
- Raised Beds:Raised beds offer excellent drainage and can be customized to suit your needs. Prepare the bed with a well-draining soil mix and amend it with compost or aged manure. Follow the same planting depth and spacing guidelines as for planting in the ground.
Step-by-Step Guide for Planting Bulbs
Here is a step-by-step guide to planting bulbs:
- Choose a location:Select a sunny spot with well-drained soil.
- Prepare the soil:Dig a hole twice as wide and deep as the bulb.
- Plant the bulb:Place the bulb in the hole with the pointed end facing upwards.
- Backfill the hole:Cover the bulb with soil and gently firm it around the base.
- Water thoroughly:Give the bulbs a good watering to settle the soil around them.
Caring for Your Bulbs
Once your bulbs are planted, consistent care is crucial for their growth and bloom. Providing the right conditions will ensure healthy bulbs and a stunning display of spring flowers.
Watering Bulbs
Watering is essential for bulb growth, especially after planting and during the growing season. Newly planted bulbs need regular watering to establish their roots. During the growing season, water deeply and consistently, especially during dry periods. Allowing the soil to dry out completely can stress the bulbs and hinder their growth.
Protecting Bulbs from Pests and Diseases
Bulbs are susceptible to pests and diseases that can damage or destroy them. Common pests include voles, squirrels, and deer, while diseases like fungal infections can also be problematic.
- Pest Control:Use physical barriers like wire mesh or netting to deter small animals from digging up bulbs. Repellents can also be effective, but their effectiveness may vary.
- Disease Prevention:Choose disease-resistant varieties and ensure good drainage in your planting area. Avoid overwatering, which can lead to fungal infections. If you notice any signs of disease, remove the affected bulbs and dispose of them properly to prevent further spread.
Fertilizing Bulbs
Fertilizing bulbs provides them with essential nutrients for healthy growth and flowering.
Creating a stunning spring display starts with planting bulbs in the fall. To ensure your garden bursts with color come springtime, follow these essential steps: choose the right bulbs for your climate, plant them at the correct depth, and provide adequate drainage.
For more detailed guidance on maximizing your bulb blooms, check out 5 Tips For Planting Spring Bulbs In Fall For Maximum Blooms. With a little planning and care, you’ll be rewarded with a vibrant and cheerful spring garden.
- Timing:Apply fertilizer in early spring, just as the shoots emerge from the soil. You can also apply a light application of fertilizer in fall, after planting.
- Type of Fertilizer:Use a balanced fertilizer with equal parts nitrogen, phosphorus, and potassium. Avoid high-nitrogen fertilizers, which can promote leaf growth at the expense of flower production. Organic fertilizers, such as compost or manure, are also beneficial for bulb growth.
Caring for Bulbs Throughout the Year
Season |
Care Practices |
|---|---|
Fall |
Plant bulbs, water thoroughly, and apply a light layer of fertilizer. |
Winter |
Protect bulbs from frost and harsh winter conditions with a layer of mulch. |
Spring |
Water regularly, especially during dry periods. Fertilize when shoots emerge. Deadhead spent flowers to encourage further blooming. |
Summer |
Allow foliage to die back naturally, providing nutrients to the bulb. Do not cut foliage until it has completely withered. |
Enjoying Your Spring Display
After the hard work of planting, the real reward comes in spring when your bulbs burst into bloom, creating a breathtaking display of color and fragrance. Enjoying your spring display is all about appreciating the beauty of your bulbs and understanding their needs to ensure they thrive year after year.
Timing of Bulb Blooms
Knowing when to expect your bulbs to bloom is crucial for planning your spring garden. Different varieties have different bloom times, creating a succession of color throughout the season.
- Early bloomers, like snowdrops and crocuses, typically emerge in late winter or early spring, bringing a welcome burst of color to the still-bare landscape.
- Mid-season bloomers, such as tulips, daffodils, and hyacinths, bloom in mid-spring, adding a vibrant splash of color to your garden.
- Late bloomers, such as alliums and lilies, flower in late spring, extending the season of color and interest in your garden.
Importance of Deadheading
Deadheading, or removing spent blooms, is an essential practice for maintaining healthy bulbs and encouraging further growth.
Deadheading prevents the bulb from expending energy on seed production, allowing it to focus on building up food reserves for the following year.
Deadheading also helps to prevent the spread of diseases and promotes a more attractive appearance.
Incorporating Bulbs into Existing Landscape Designs
Bulbs can be seamlessly integrated into existing landscape designs, adding pops of color and texture to various areas.
- Underplanting trees and shrubs: Plant bulbs around the base of trees and shrubs, creating a colorful understory. Choose bulbs that thrive in shade or partial shade, such as snowdrops, crocuses, and bluebells.
- Border plantings: Use bulbs to create a vibrant border along walkways, patios, or garden edges. Choose bulbs with different heights and bloom times to create a continuous display of color throughout the season.
- Rock gardens: Bulbs are well-suited for rock gardens, adding splashes of color and texture to the rocky landscape. Choose bulbs that thrive in dry, well-drained conditions, such as alliums, crocuses, and dwarf irises.
End of Discussion
Planting bulbs in the fall is a rewarding investment in your garden’s beauty. By following the steps Artikeld in this guide, you can create a spring display that will be the envy of your neighborhood. From choosing the right bulbs to caring for them throughout the year, the process is straightforward and enjoyable.
So, grab your gardening gloves, select your favorite bulbs, and get ready to witness the magic of spring unfold in your garden.
Detailed FAQs
What are the best bulbs to plant in the fall?
Popular fall-planted bulbs include tulips, daffodils, hyacinths, crocuses, and alliums. Each bulb offers unique colors, bloom times, and heights, allowing you to create a diverse and stunning display.
When is the best time to plant bulbs in the fall?
The optimal planting time varies depending on your region’s climate. Generally, aim to plant bulbs 6-8 weeks before the first expected frost. This allows them to establish roots before the ground freezes.
How deep should I plant bulbs?
The planting depth for bulbs is typically two to three times the height of the bulb. Refer to specific planting instructions for each bulb type for precise depths.
What should I do if my bulbs don’t bloom in the spring?
If your bulbs fail to bloom, it could be due to improper planting depth, insufficient watering, or pest infestation. Check your planting depth and ensure the bulbs are receiving adequate moisture. You can also consult a local gardening expert for further guidance.
