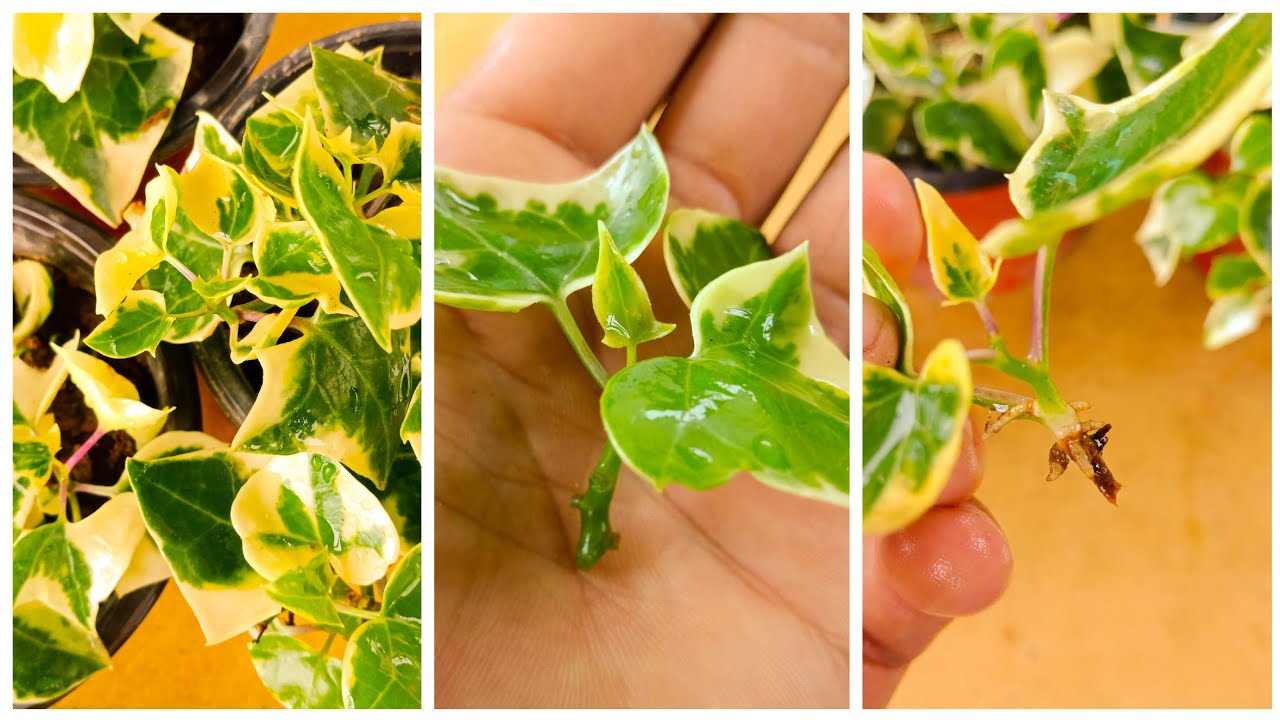
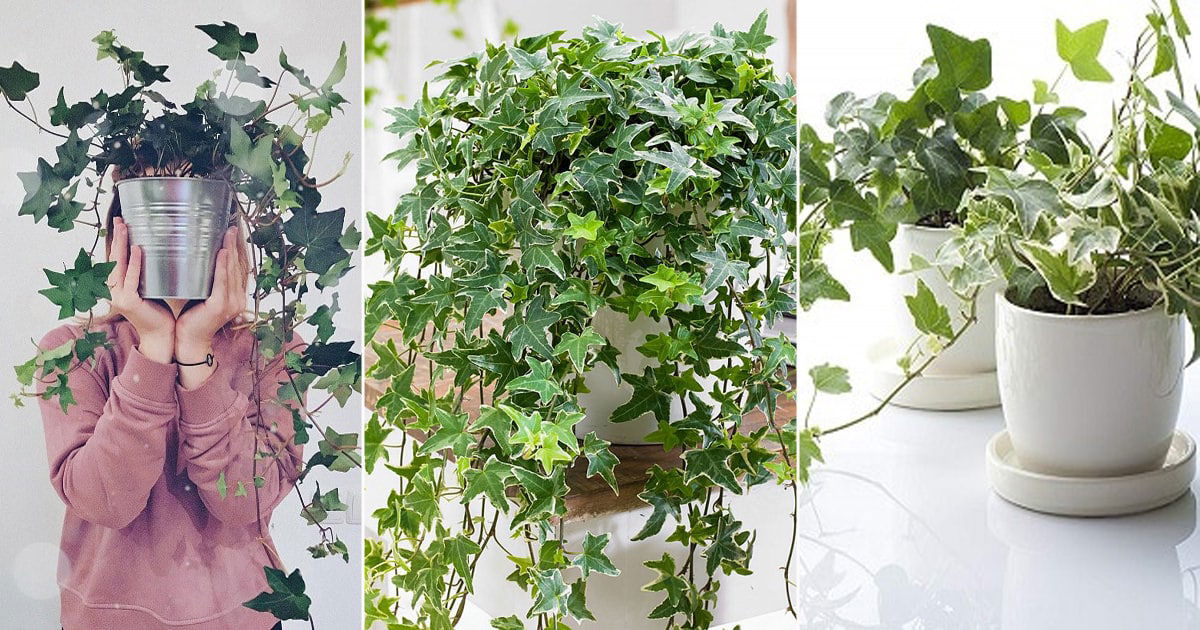
The Easiest Ivy Propagation Techniques for Indoor & Outdoor Success: Ivy, with its vibrant green foliage and trailing tendrils, adds a touch of elegance and life to any space. Whether you’re an experienced gardener or a novice, propagating ivy is a rewarding endeavor that allows you to expand your collection and share the beauty of this versatile plant.
This guide will delve into the simplest and most effective methods for propagating ivy, from the comfort of your home to the expanse of your garden.
From the basics of selecting the right ivy varieties to mastering the art of stem cuttings and layering, we’ll explore every step of the process, providing clear instructions and helpful tips for maximizing your success. Whether you’re aiming to create a stunning hanging basket, a lush green wall, or simply enjoy the satisfaction of nurturing new life, this guide will empower you to propagate ivy with confidence and ease.
Introduction to Ivy Propagation
Ivy propagation is a rewarding process that allows you to easily expand your collection of these versatile plants. Whether you are a seasoned gardener or a beginner, propagating ivy is a simple and successful way to create new plants from cuttings or layers.
Propagating ivy offers several advantages. First, it is an affordable way to obtain new plants. Second, you can easily create clones of your favorite ivy varieties, ensuring that you have more of the same unique characteristics. Finally, propagation allows you to share your ivy with friends and family, spreading the beauty and versatility of these plants.
Types of Ivy Suitable for Propagation
Ivy propagation is generally straightforward and can be achieved with a variety of ivy types. Here are some popular choices:
- English Ivy (Hedera helix): This classic ivy is known for its dark green leaves and adaptability. It is suitable for both indoor and outdoor propagation.
- Algerian Ivy (Hedera canariensis): This variety features larger, more textured leaves with a distinctive, glossy sheen. It thrives in warmer climates and is best suited for outdoor propagation.
- Boston Ivy (Parthenocissus tricuspidata): While technically not a true ivy, this climbing vine is often grouped with ivy due to its similar growth habits. It is known for its vibrant foliage and is an excellent choice for outdoor walls and trellises.
- Swedish Ivy (Plectranthus verticillatus): This fast-growing, trailing variety is popular for indoor hanging baskets. It is relatively easy to propagate from cuttings.
Methods of Ivy Propagation
Several methods are commonly used to propagate ivy, each with its own advantages.
Achieving success with ivy propagation, whether indoors or outdoors, is surprisingly easy. Mastering the art of this simple technique can lead to a flourishing collection of these versatile plants. To learn the secrets of successful ivy propagation, check out Master the Art of Propagating Ivy with These Simple Tricks , which provides a wealth of valuable tips.
From there, you’ll be well-equipped to cultivate your own ivy haven, adding a touch of nature’s beauty to your home or garden.
Understanding the different methods is essential for choosing the one that best suits your needs and the specific type of ivy you are working with.
While ivy propagation is a breeze, you might find yourself craving a more vibrant bloom in your garden. For those seeking a challenge and a touch of romanticism, explore the world of rose propagation. Check out this guide on How To Propagate Roses From Cuttings: Create a Blooming Garden Full of Color to learn the art of cultivating roses from cuttings.
Once you’ve mastered these techniques, you’ll be ready to tackle any plant propagation challenge, from the humble ivy to the majestic rose.
- Stem Cuttings:This is the most popular method for propagating ivy. It involves taking a section of stem with several leaves and rooting it in a suitable medium. Stem cuttings can be taken from both indoor and outdoor ivy plants.
- Air Layering:This method involves encouraging roots to form on a stem while it is still attached to the parent plant. Air layering is often used for larger ivy plants and is particularly effective for varieties that are difficult to root from cuttings.
- Division:This method involves separating a mature ivy plant into smaller sections, each with its own roots. Division is most effective for ivy plants that have grown into large clumps.
Indoor Ivy Propagation Techniques

Propagating ivy indoors offers a convenient and controlled environment to nurture new plants. With the right techniques, you can successfully grow healthy ivy from stem cuttings, adding greenery to your home with minimal effort.
Stem Cuttings Propagation
Stem cuttings are a common and effective method for propagating ivy indoors. This technique involves taking a section of healthy ivy stem and encouraging it to develop roots.
- Select a healthy stem:Choose a non-flowering stem from a mature ivy plant. Look for a stem that is about 4-6 inches long and has several nodes (the points where leaves grow).
- Make the cut:Using a sharp knife or pruning shears, make a clean cut just below a node. This will encourage root growth at that point.
- Remove lower leaves:Remove the leaves from the bottom 1-2 inches of the stem. This prevents these leaves from rotting in the growing medium.
- Prepare the cutting:Dip the cut end of the stem in rooting hormone powder. This helps to stimulate root growth and protect the cut end from infection.
- Plant the cutting:Fill a small pot with a suitable growing medium, such as a mixture of peat moss and perlite. Make a hole in the medium and insert the cut end of the stem into the hole.
- Water and cover:Water the cutting thoroughly and cover the pot with a plastic bag or dome to create a humid environment. This helps to retain moisture and prevent the cutting from drying out.
- Place in indirect light:Place the pot in a bright location but out of direct sunlight. Ivy cuttings need indirect light to grow.
- Maintain humidity:Mist the cutting regularly to maintain humidity levels.
- Monitor progress:Check the cutting regularly for signs of root development. This usually takes 4-6 weeks.
- Transplant:Once the cutting has developed roots, you can transplant it into a larger pot with fresh potting mix.
Rooting Hormone
Rooting hormone is a beneficial aid in indoor ivy propagation. It contains auxins, plant hormones that stimulate root growth.
- Types of rooting hormone:Rooting hormone is available in powder, liquid, and gel forms. Powder is the most common and readily available.
- Applying rooting hormone:Dip the cut end of the stem in the rooting hormone powder. Ensure the entire cut surface is coated with the powder.
- Importance of rooting hormone:Rooting hormone helps to accelerate root development and increase the success rate of propagation. It provides a protective barrier against fungal infections and encourages root growth in difficult-to-root plants.
Ideal Growing Medium
The growing medium plays a crucial role in successful indoor ivy propagation. It needs to provide adequate drainage and aeration for root development.
- Ideal mix:A mixture of peat moss and perlite is an excellent growing medium for indoor ivy propagation. Peat moss retains moisture and provides nutrients, while perlite improves drainage and aeration.
- Other options:You can also use a commercial potting mix specifically designed for rooting cuttings.
- Avoid heavy soil:Avoid using heavy clay soil, as it can retain too much moisture and lead to root rot.
Indoor Ivy Propagation Methods
Here is a table outlining different indoor ivy propagation methods, their materials, steps, and estimated timeframe for root development:
Method Name |
Materials Needed |
Steps Involved |
Timeframe for Root Development |
|---|---|---|---|
Stem Cuttings |
|
|
4-6 weeks |
Air Layering |
|
|
6-8 weeks |
Leaf Cuttings |
|
|
6-8 weeks |
Outdoor Ivy Propagation Techniques
Outdoor ivy propagation offers a unique set of advantages, particularly when aiming for a larger scale of new plants. This section delves into two popular layering techniques – air layering and ground layering – that are particularly effective for outdoor ivy propagation.
Comparing Air Layering and Ground Layering
Air layering and ground layering are both effective methods for propagating ivy outdoors, each offering distinct advantages and disadvantages. Understanding the nuances of each technique can help you select the most suitable method for your specific needs.
- Air layering involves inducing root development on a stem while it is still attached to the parent plant. This technique is particularly suitable for ivy varieties that are high off the ground or growing vertically, making it challenging to utilize ground layering.
- Ground layering, on the other hand, involves bending a stem down to the ground and burying a portion of it. This method is ideal for ivy that is already growing close to the ground or can be easily manipulated.
Step-by-Step Guide to Air Layering
Air layering is a versatile technique that can be used to propagate a variety of plants, including ivy. This method involves inducing root development on a stem while it is still attached to the parent plant. Here’s a step-by-step guide to air layering ivy:
- Select a healthy stem: Choose a stem that is at least 1/2 inch thick and has no signs of disease or damage. The stem should be flexible enough to bend without breaking.
- Make an incision: Using a sharp knife or pruning shears, make a horizontal cut through the stem about 1/2 inch deep. This will expose the cambium layer, which is responsible for root growth.
- Apply rooting hormone: After making the incision, apply a rooting hormone to the exposed cambium layer. This will encourage root development.
- Wrap the stem with sphagnum moss: Wrap the incised area with damp sphagnum moss. The moss will help to keep the cut area moist and provide a suitable environment for root development. Secure the moss in place with plastic wrap or aluminum foil.
- Maintain moisture: Keep the sphagnum moss moist by watering it regularly. The moss should be kept damp but not soggy.
- Monitor root development: Check the moss periodically for signs of root development. Roots will typically appear within a few weeks, but it may take several months for them to develop fully.
- Separate the new plant: Once the roots have developed, you can carefully separate the new plant from the parent plant by cutting the stem just below the roots. The new plant can then be potted up and grown as a separate plant.
Step-by-Step Guide to Ground Layering, The Easiest Ivy Propagation Techniques for Indoor & Outdoor Success
Ground layering is a simple and effective method for propagating ivy. This technique involves bending a stem down to the ground and burying a portion of it. Here’s a step-by-step guide to ground layering ivy:
- Select a healthy stem: Choose a stem that is at least 1/2 inch thick and has no signs of disease or damage. The stem should be flexible enough to bend down to the ground without breaking.
- Make an incision: Using a sharp knife or pruning shears, make a horizontal cut through the stem about 1/2 inch deep. This will expose the cambium layer, which is responsible for root growth.
- Bend the stem down: Carefully bend the stem down to the ground and secure it in place with a U-shaped wire or a rock. You can use a small piece of wood or a stone to hold the stem down to the ground.
- Cover the stem with soil: Cover the buried portion of the stem with a few inches of soil. Ensure the soil is moist but not soggy.
- Maintain moisture: Keep the soil moist by watering it regularly. The soil should be kept damp but not soggy.
- Monitor root development: Check the soil periodically for signs of root development. Roots will typically appear within a few weeks, but it may take several months for them to develop fully.
- Separate the new plant: Once the roots have developed, you can carefully separate the new plant from the parent plant by cutting the stem just below the roots. The new plant can then be potted up and grown as a separate plant.
Ideal Time of Year for Outdoor Ivy Propagation
The ideal time of year for outdoor ivy propagation is in the spring or early summer when the weather is warm and the soil is moist. This period allows the newly propagated ivy to establish itself before the cold weather sets in.
Comparing Air Layering and Ground Layering
Technique |
Advantages |
Disadvantages |
Ideal Conditions |
|---|---|---|---|
Air Layering |
|
|
|
Ground Layering |
|
|
|
Essential Tips for Successful Ivy Propagation: The Easiest Ivy Propagation Techniques For Indoor & Outdoor Success

Ivy propagation is a rewarding process that allows you to create new plants from cuttings. While the process is generally straightforward, there are some essential tips that can significantly increase your success rate. Understanding the key factors that influence ivy growth and taking appropriate measures to address common issues will help you cultivate healthy and thriving ivy plants.
Understanding Key Factors for Successful Propagation
Several factors influence the success rate of ivy propagation. These include the type of ivy, the season, the quality of the cuttings, and the environmental conditions.
- Ivy Type:Different ivy varieties have varying propagation success rates. Some, like English ivy, root easily, while others, like Boston ivy, may require more attention.
- Season:Spring and summer are generally considered the best times for ivy propagation, as the plant is actively growing and has higher energy reserves.
- Cutting Quality:Using healthy, vigorous cuttings with at least two nodes (leaf joints) increases the chances of successful rooting.
- Environmental Conditions:Providing optimal light, water, and humidity is crucial for successful ivy propagation.
Importance of Light, Water, and Humidity
Light, water, and humidity play a crucial role in the successful propagation of ivy.
- Light:Ivy cuttings need bright, indirect light to encourage root development. Direct sunlight can scorch the cuttings, so it’s important to provide filtered light or a shaded location.
- Water:Keep the rooting medium consistently moist, but avoid overwatering, which can lead to root rot. The soil should be allowed to dry slightly between waterings.
- Humidity:Ivy cuttings thrive in high humidity. You can increase humidity by misting the cuttings regularly or placing them in a humidity dome or propagator.
Troubleshooting Common Issues
Despite following the best practices, you may encounter some challenges during ivy propagation.
- Wilting:If cuttings wilt, it indicates insufficient water or humidity. Increase the frequency of misting and ensure the rooting medium is consistently moist.
- Root Rot:Overwatering can lead to root rot. Check the rooting medium for excessive moisture. Allow it to dry slightly between waterings. Repot the cuttings in fresh, well-draining soil if necessary.
- Fungal Diseases:Fungal diseases can affect cuttings, especially in humid environments. Provide adequate ventilation and avoid overcrowding. If fungal growth is observed, treat the cuttings with a fungicide.
- Pest Infestations:Pests like aphids and mealybugs can damage ivy cuttings. Inspect cuttings regularly for signs of infestation and treat them with an appropriate insecticide if necessary.
“Patience and persistence are key to successful ivy propagation. Don’t be discouraged if your first attempts don’t yield immediate results. With consistent care and attention, you will eventually achieve success.”
Creative Applications of Propagated Ivy
Propagated ivy, with its versatility and ease of growth, offers a multitude of possibilities for enhancing indoor and outdoor spaces. From creating stunning hanging baskets to adorning vertical gardens, ivy’s adaptability makes it a perfect choice for various landscaping projects.
Creating a Stunning Hanging Basket with Ivy Cuttings
A hanging basket filled with cascading ivy can instantly transform a dull corner into a lush oasis. Here’s how to create a stunning hanging basket using ivy cuttings:
- Choose the Right Basket:Select a basket with drainage holes and a sturdy wire frame to support the weight of the growing ivy.
- Prepare the Basket:Line the basket with a layer of coconut coir or sphagnum moss to create a moisture-retentive environment for the ivy cuttings.
- Plant the Cuttings:Gently insert the ivy cuttings into the prepared basket, ensuring that at least two nodes are buried in the growing medium. Space the cuttings evenly throughout the basket.
- Water and Care:Keep the growing medium consistently moist, but avoid overwatering. Provide adequate light and humidity for optimal growth.
Closing Summary
With the right techniques and a little patience, propagating ivy can be a fulfilling and rewarding experience. Whether you’re growing ivy indoors or outdoors, this guide has equipped you with the knowledge and tools to successfully cultivate new plants and share the beauty of this versatile vine with others.
Remember, the key to success lies in understanding the basic principles of ivy propagation, providing optimal growing conditions, and embracing the joy of nurturing life.
Questions and Answers
What is the best time of year to propagate ivy?
The ideal time for propagating ivy is during the spring or early summer when the plant is actively growing. This ensures that the cuttings have the best chance of rooting and developing into healthy plants.
Can I use any type of ivy for propagation?
Most ivy varieties are relatively easy to propagate. However, some varieties may be more challenging than others. It’s best to choose healthy, vigorous plants for propagation.
How long does it take for ivy cuttings to root?
The rooting time for ivy cuttings can vary depending on the propagation method and environmental conditions. Typically, it takes 4 to 6 weeks for cuttings to develop roots.
What if my ivy cuttings don’t root?
If your ivy cuttings don’t root after a few weeks, it’s possible that the cuttings weren’t taken from healthy plants or that the growing conditions weren’t ideal. Try adjusting the environment, ensuring adequate light, humidity, and warmth. You can also experiment with different rooting hormones.
